Note: You will need Windows image file (.iso) or DVD of (Windows 7, 8.1, 10 or latest).
If you have any problems following the steps below, please send us feedback using the Feedback form.
FOLLOW THESE STEPS
⦁ Download the Windows image file from Microsoft official website or read below how to make (.iso) Windows image file.⦁ Install (PowerISO) or (Daemon tools) for creating the ".iso" file and restart your PC to complete the setup.
USB DRIVE will format so backup your data before you use this software.
⦁ INSTALL: "Windows 7 USB/DVD Download Tool", download size is: 3MB.
⦁ Minimum 4GB free space on USB is required, depending on the size of Windows setup.
⦁ Download and Install: Microsoft.com/en-us/Download/Windows-USB-Tool
⦁ Don't worry about the title of the software, it works for all versions of Windows and it will not download anything as it works offline.
⦁ Make sure you have selected the right USB flash drive in case more than one USB is attached to your system.
⦁ Next browse and select the Windows image file (.iso) and Hit Begin-copying as shown below in the image, Start over is in case the setup got interrupted or failed for some reason.
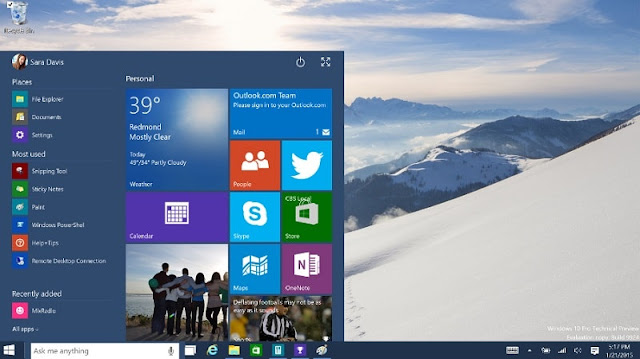
 |
| Snapshot of the Microsoft Tool: For creating Windows Bootable USB flash drive. |
⦁ Find the setup (.exe) file in your USB and run it.
⦁ Now run this setup file: "USB\sources\setup.exe".
WARNING: If you format or delete any partition during installation, any data on that partition will be erased. Backup any data (files/folders) you want to keep before you begin, you can use a USB flash drive or portable hard drive or simply move your important (files/folders) to a partition that you don't intend on deleting or formatting.
 |
| Click the image to view full size |
⦁ Select the partition and delete the old Windows partition to install a fresh copy of Windows but read the warning above before you continue.
⦁ If you recreate a partition a pop will appear, just hit OK after reading the details.
⦁ Select the newly created partition or the partition you just formatted and Hit NEXT.
⦁ If you have any problems you can leave a comment below or ask someone YouTube or Microsoft Windows Forums.
INSTALLING WINDOWS USING NO USB OR DVD
⦁ If you don’t have a USB or a DVD but only have Windows setup files on your hard drive then you’re good to go, yes it is easy to install Windows if you have the setup files on the same system that you’re about to install.⦁ You will need a separate drive/partition from where you have to run the setup from for a fresh start.
⦁ Run the setup from a separate partition where your Windows is not installed.
 |
| Click the image to view full screen - Partition Manager |
⦁ Find this file and Run it: Path: “Windows-Setup-Folder\sources\setup.exe”
The setup will copy some files and your PC will restart and the Windows Setup will start.
Once the setup starts you can format C:\Partition or Delete and Recreate for fresh installation.
HOW TO MAKE WINDOWS (.ISO IMAGE FIRE)
⦁ After installing PowerISO setup, restart your PC. |
| Click the image to view full screen |
NTFS vs FAT32
NTFS FILE SYSTEM: Faster data transfer and can hold large files such as 6GB (compressed single file) and above, the FAT32 format does not support.FAT32 FILE SYSTEM: Slow data transfer and cannot hold large files on USB or hard drive, this old format was introduced at time of Windows XP and has been replaced with NTFS format.
How to boot a USB - Changing System BIOS settings (Boot Order)
⦁ Keep in mind that when your restart your PC, you need to boot from your USB and to do this you will need to go to your System Bios settings to change the boot order if USB setup does not do not start.⦁ Normally the keyboard shortcut keys to enter bios settings are below:
⦁ Start your computer and repeatedly press one of these keys F2, F10, F8, F1, or ESC during the initial startup screen, normally the shortcut key is displayed when you start your PC. Example (Press "KEY" to enter Setup|Bios).
⦁ After entering the BIOS settings find a TAB that says "BOOT" and make sure the Removable Devices or USB name is on the top of the list. Help for changing these settings is always there or press F1 key.
⦁ Press F2 or DEL key repeatedly while your system is restarting|starting in order to enter the bios settings.
⦁ If you are still having trouble can search on Google|YouTube: “How to change BIOS settings - Boot from USB”.

0 comments :
Post a Comment